Steps to add custom CSS/JavaScript
Open your project in the web builder
Navigate to the projects panel by clicking on the ‘’Sites’ on the left side menu. Now, please open your concerned project.
Choose code scope
There are two options to add custom code.
- ‘Site Setting’ - With this option, if you add any custom code, that code will be active for all pages of your project. It will also work, if you add any new pages later
- ‘Pages Setting’ - with this option, if you add any custom code, that code will be active for that specific page on which you are working now.
Add code on the ‘Site Setting’
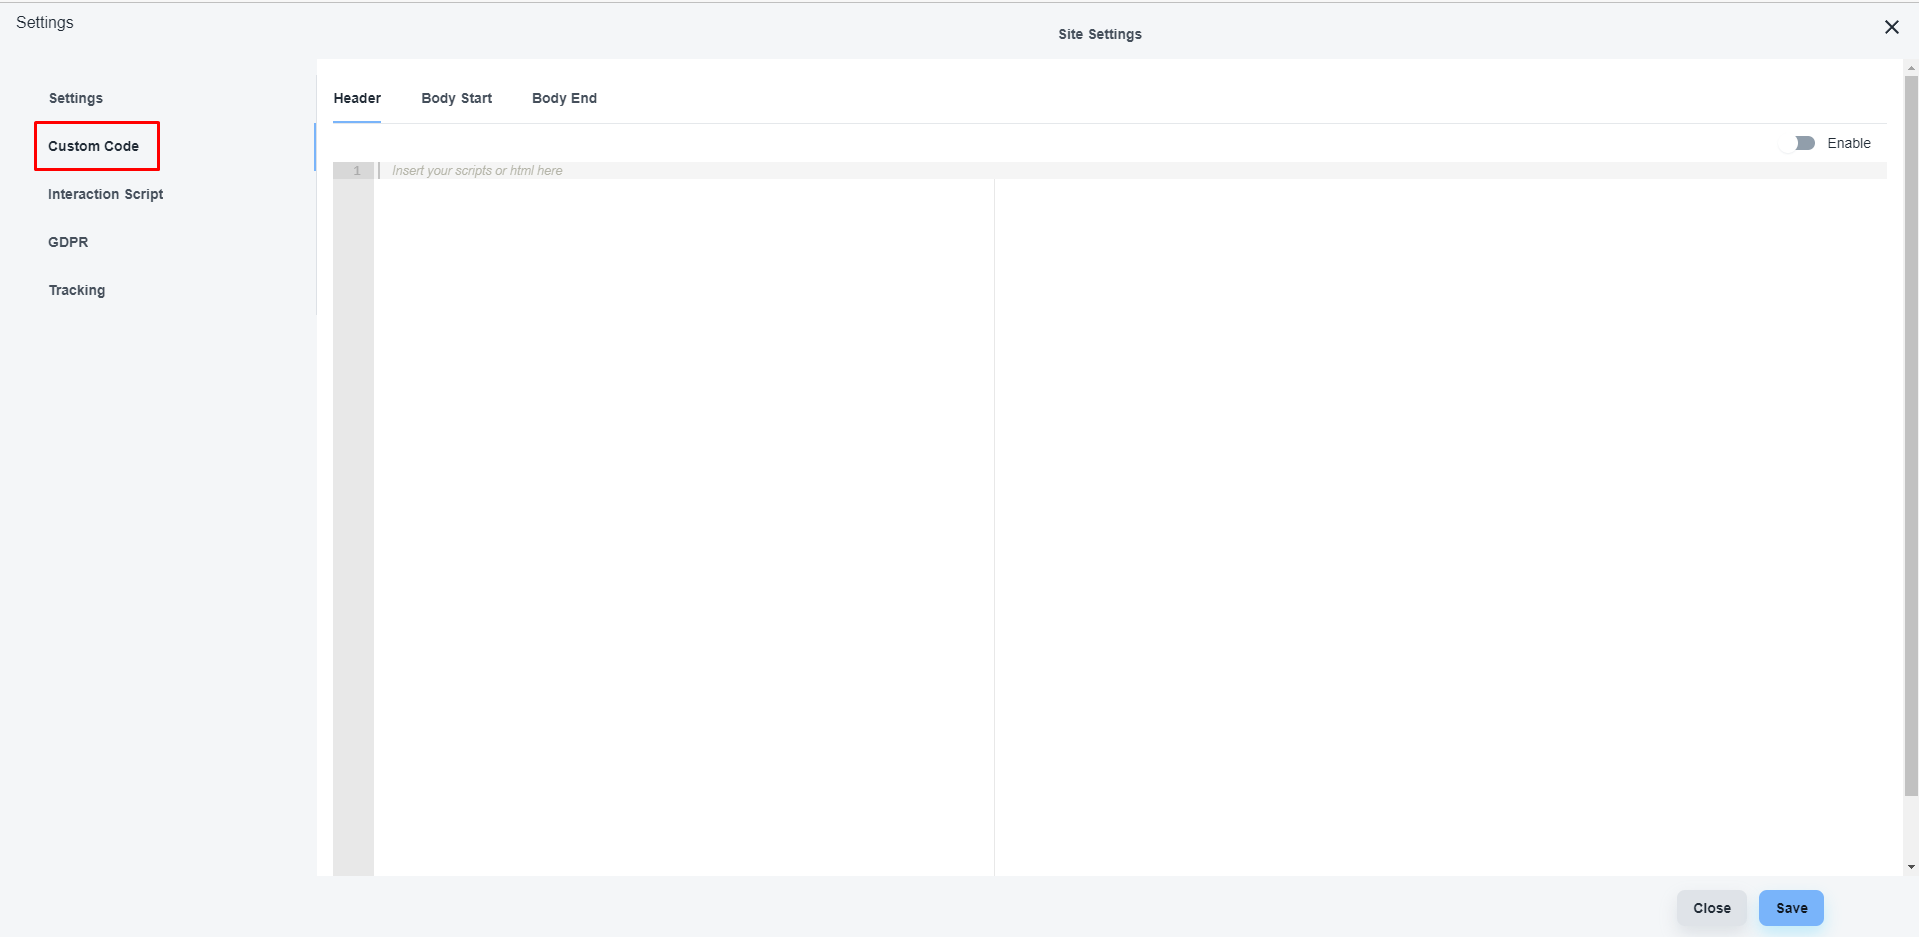
After opening the site setting page, please, click on the ‘Custom Code’ on the left side menu.
Here you will get the option to choose the position of the code. Like you add code on Header, After starting the Body tag, after ending the body tag
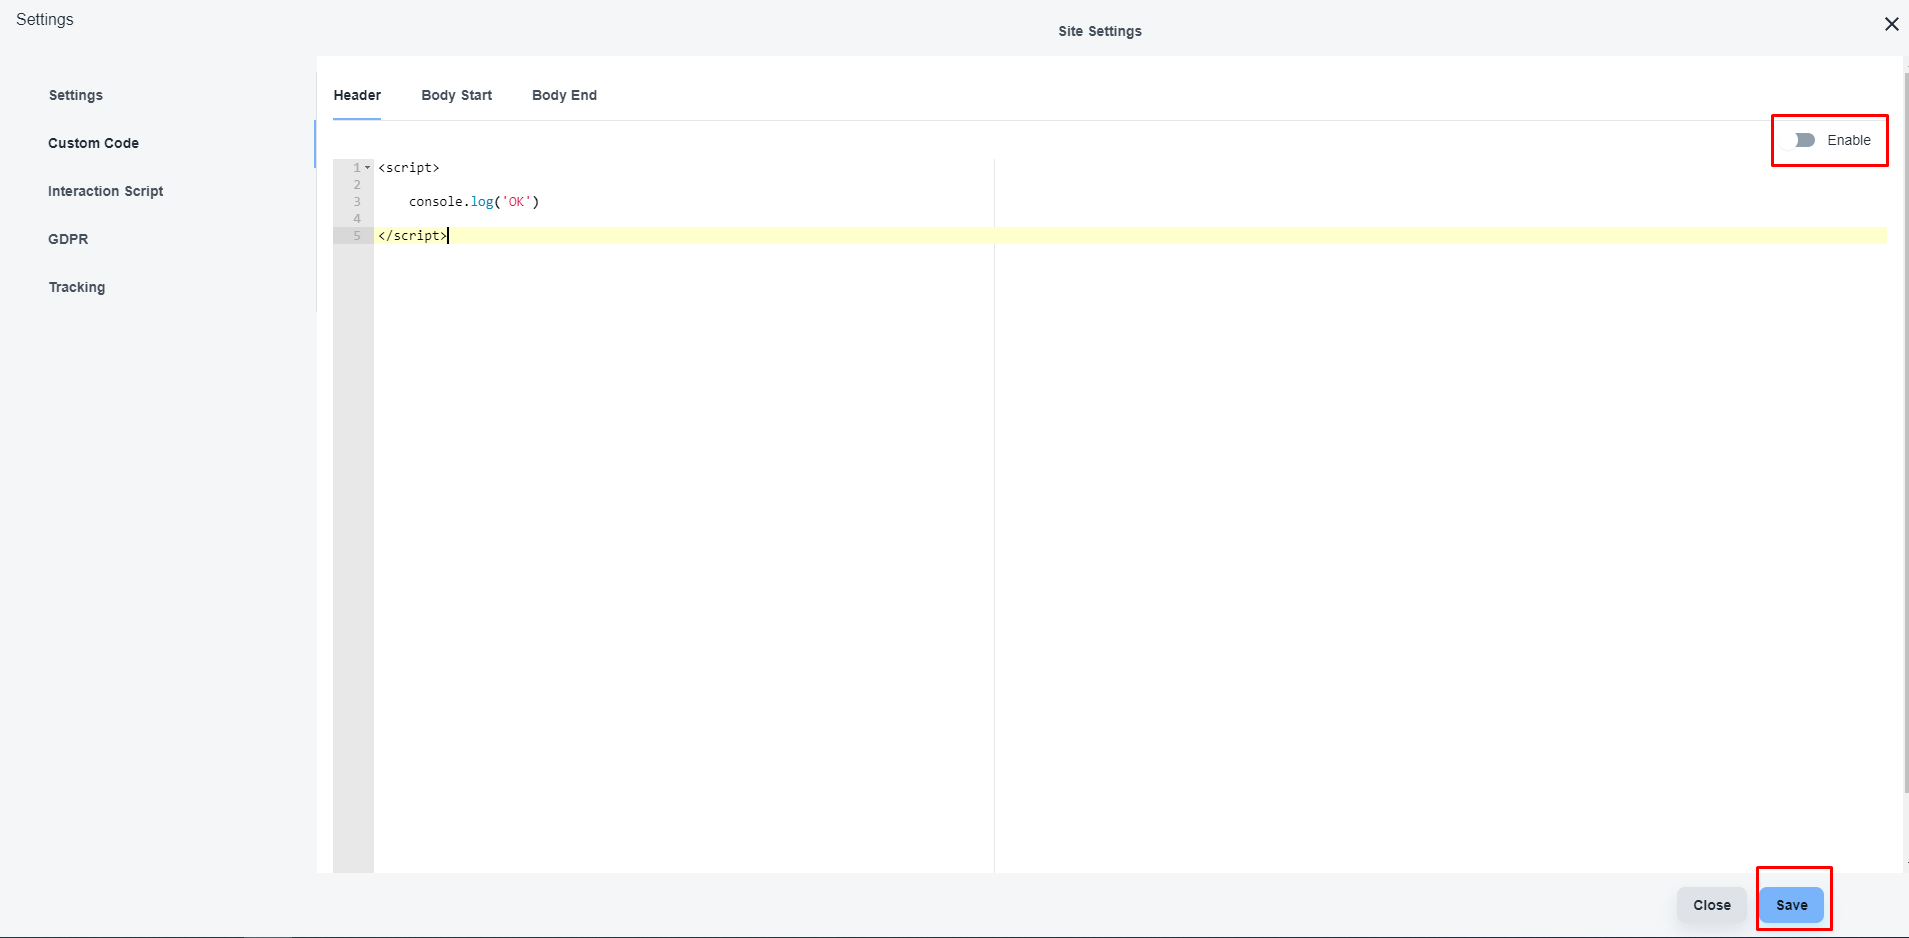
Here is the sample code for your reference.
Now, enable the code and save the setting. Finally, save/publish the project.
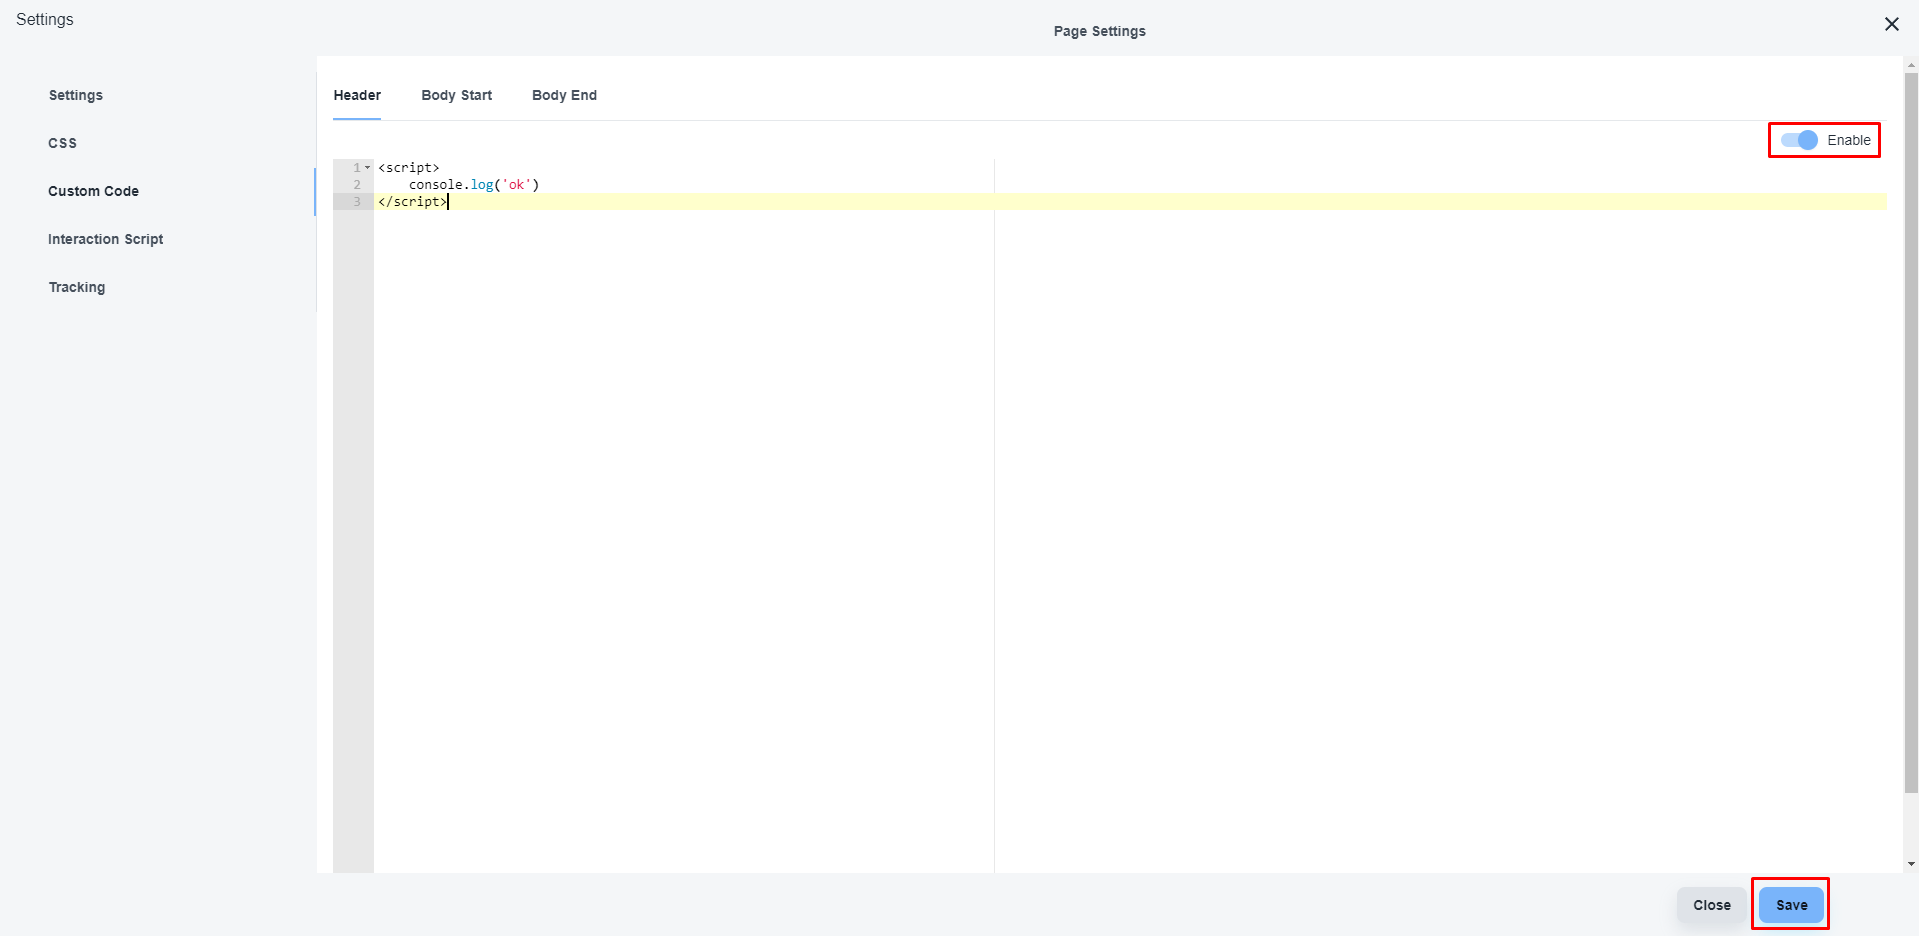
Add code on the “Page Setting’
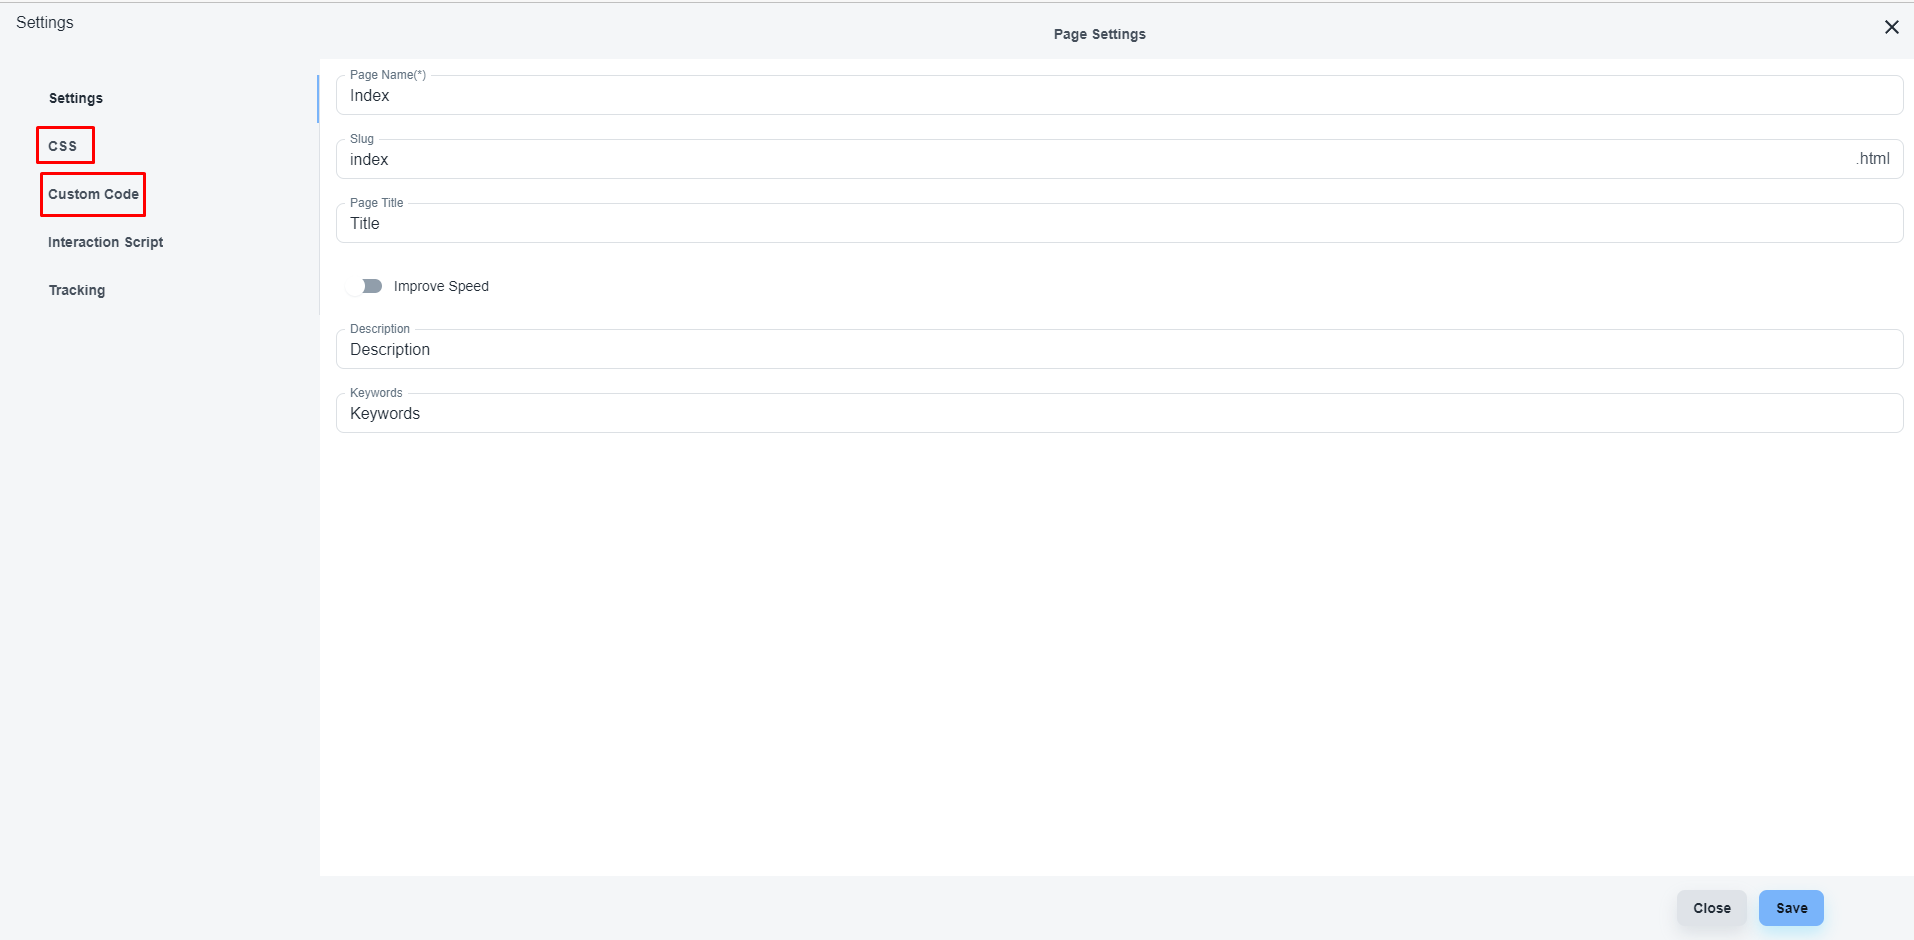
After opening the page settings page, you will get separate options for adding CSS code and JavaScript code block.
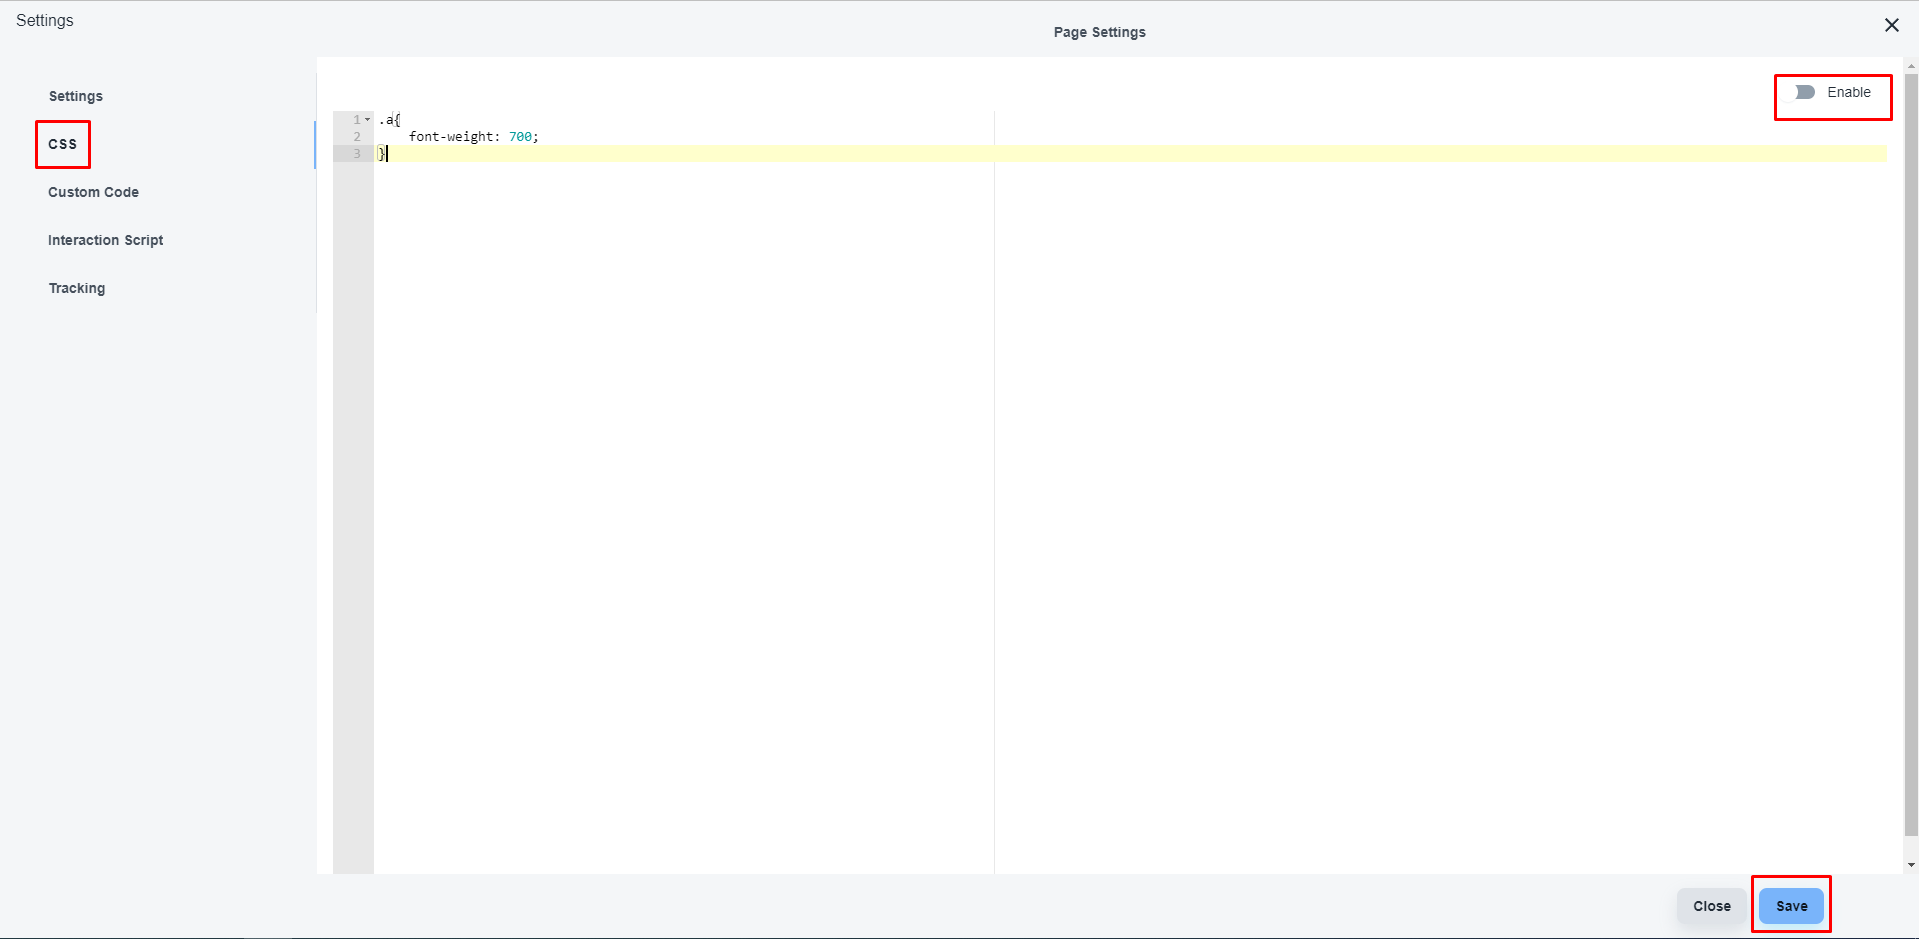
With the ‘CSS’ option, you can add CSS codes for that specific page.
Now, enable the code and save the setting. Finally, save/publish the project.
With the ‘Custom Code’ option, you can add JavaScript codes for that specific page.
Now, enable the code and save the setting. Finally, save/publish the project.


